Coating thickness tester ADA PaintMeter 1800
Article A00656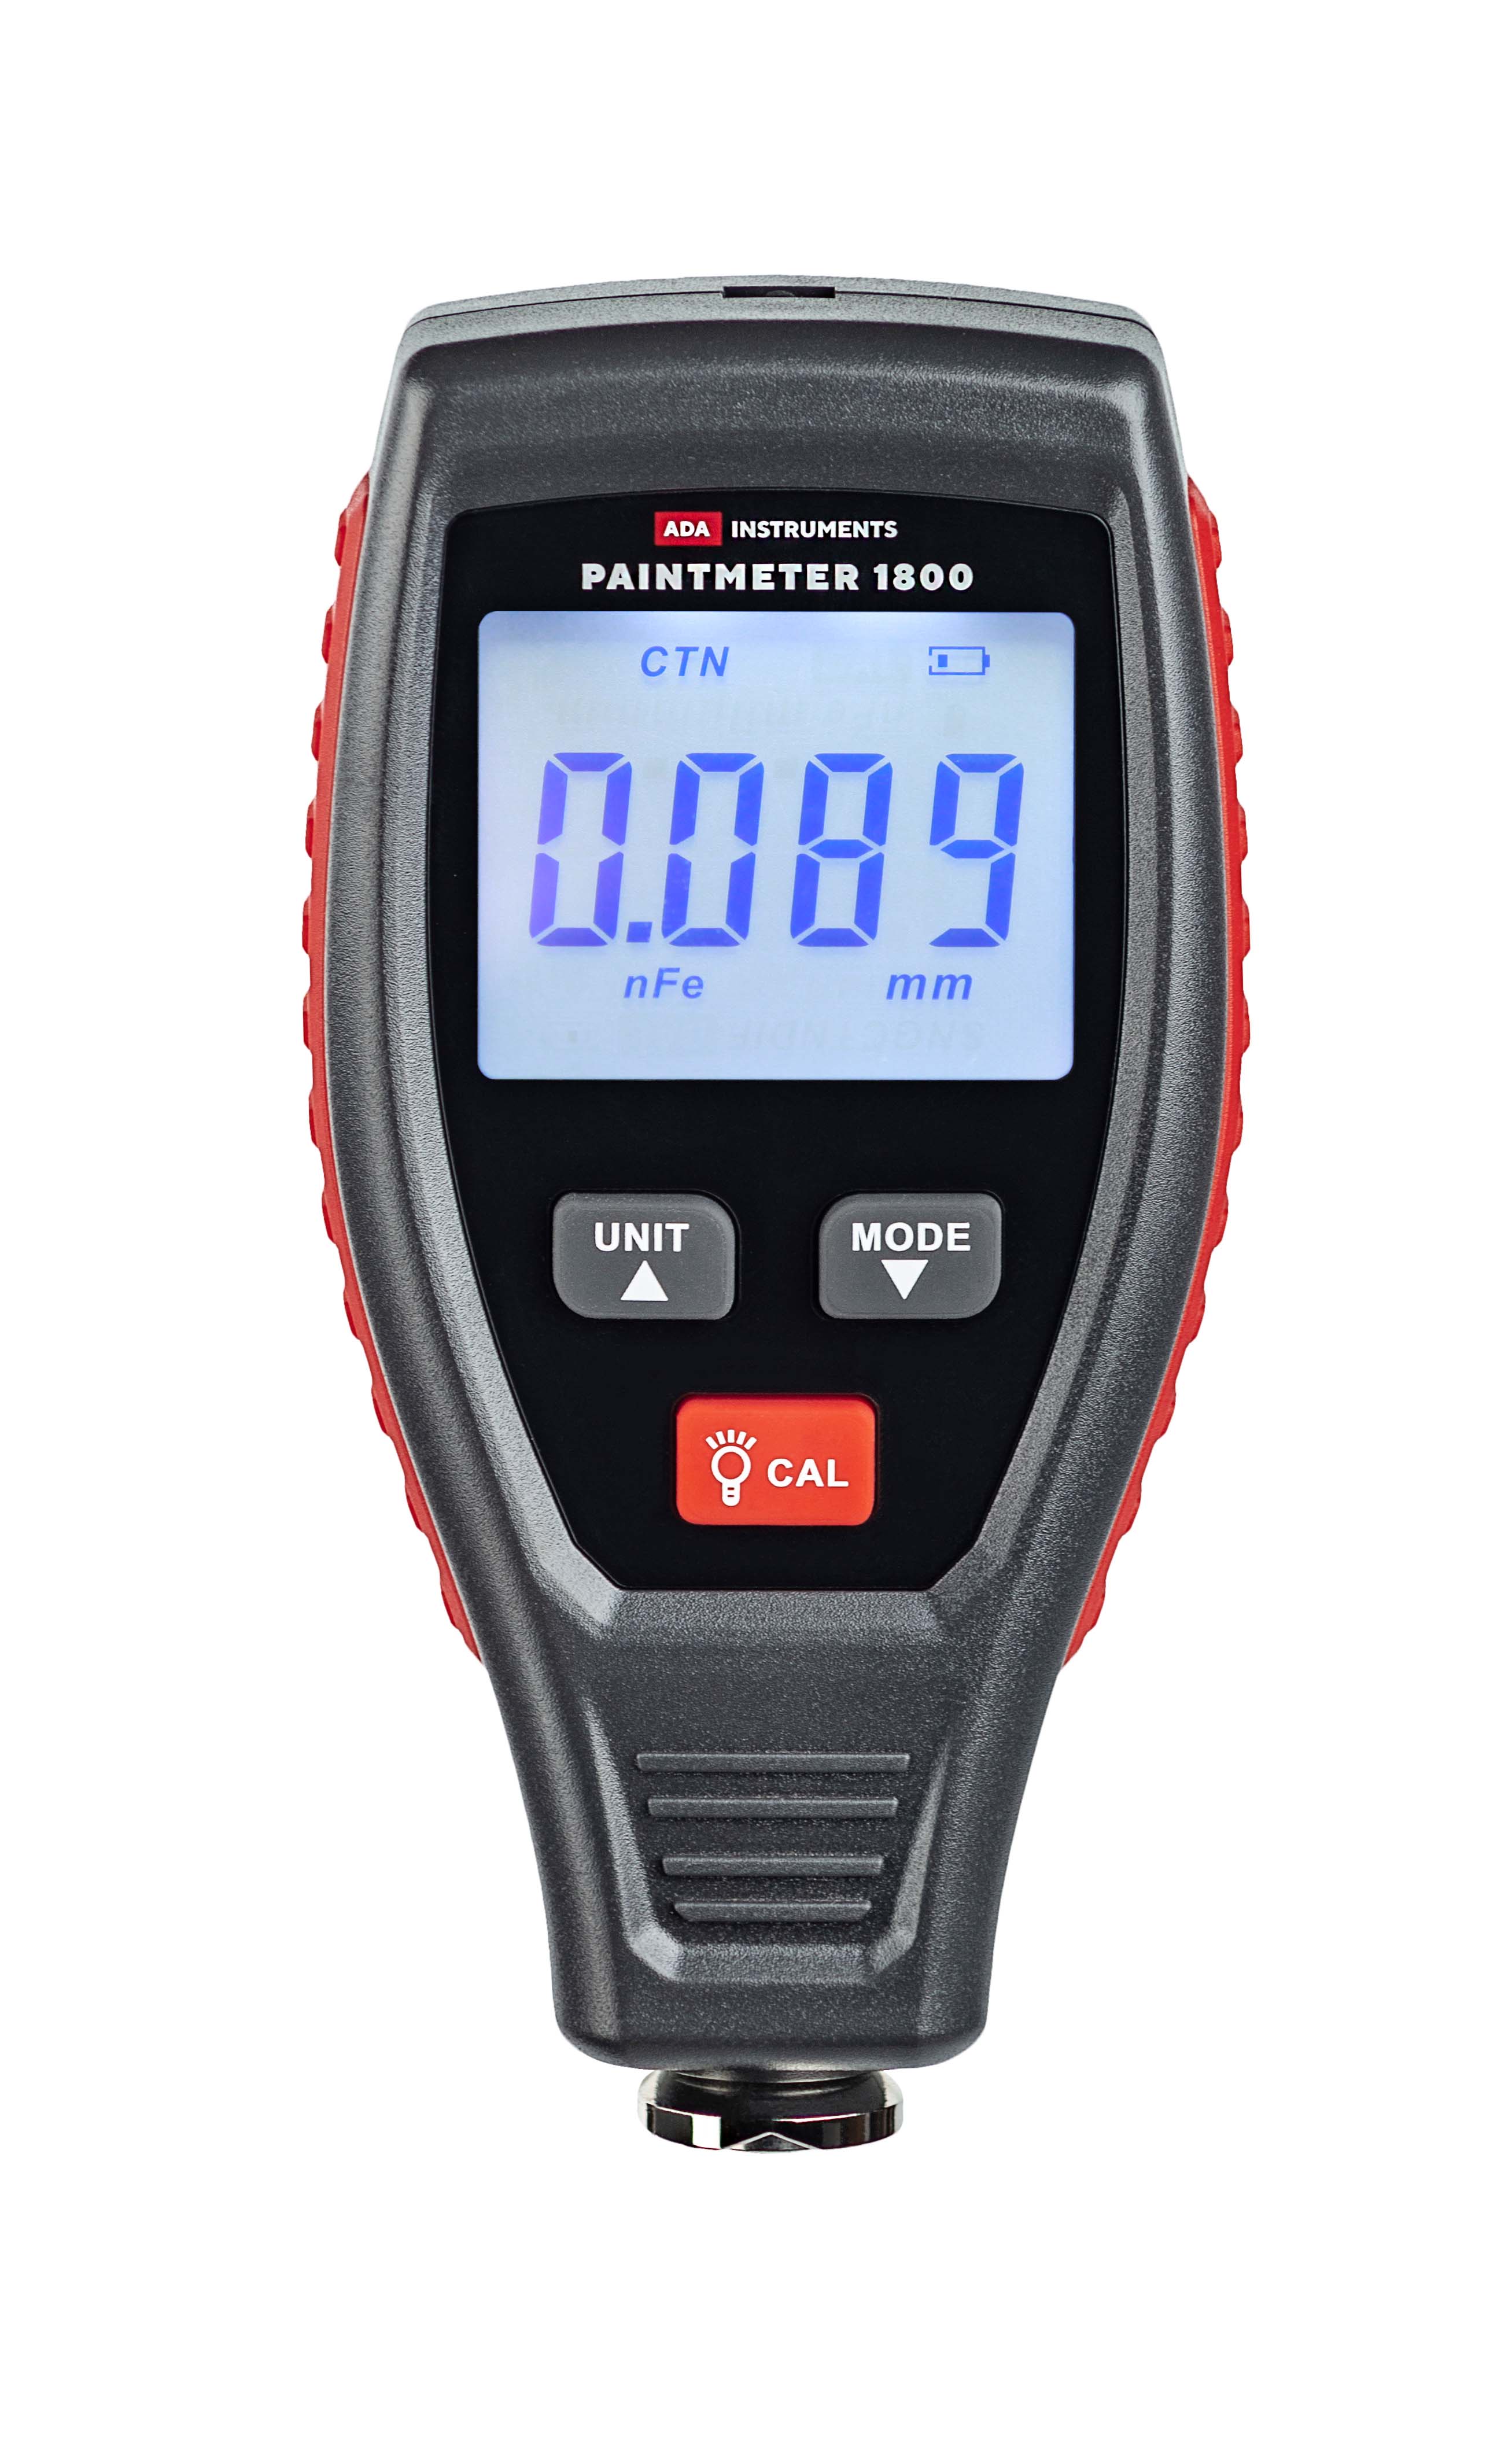
Coating thickness tester ADA PaintMeter 1800
Article A00656Specifications
| Measuring range | 0 ~ 1800 µ /71 mil |
| Accuracy | ± 5 µ (≤150 µ); ±3%H+1 µ (>150 µ) |
| Minimum radius of curvature | 2 mm |
| Diameter of minimum area | 12 mm |
| Minimum thickness | 0.5 mm |
| Operating voltage | 2х1,5 V ААА |
| Size | 62х27х121,5 mm |
Description
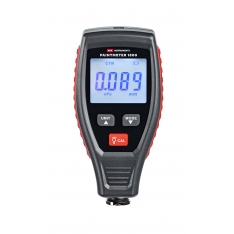
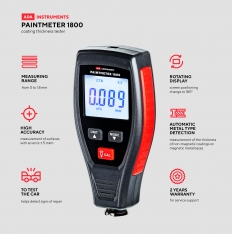
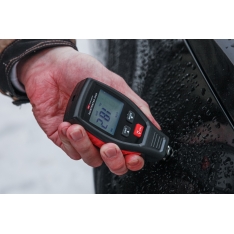
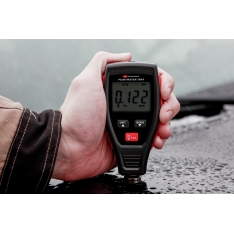
The ADA PaintMeter 1800 is a portable coating thickness gauge for fast, accurate and non-destructive measurement of coating thicknesses on ferrous and non-ferrous metals up to 1.8mm. Widely used to automobile manufacturing, metalworking, chemical industry, commodity inspection and other fields. Can automatically distinguish magnetic metal bases from non-magnetic ones.
There are three measurement modes: single measurement, continuous measurement and difference measurement. Single measurement (SNG): measurement of the coating thickness for each touch of the base sensor. Continuous measurement (CTN): As long as the sensor remains on the surface, the instrument takes a measurement. Difference measurement (DIF): the difference between the last measurement and the previous measurement. By pressing the button, you can select the units of measurement: µm(µm), mil(mil), mm(mm).
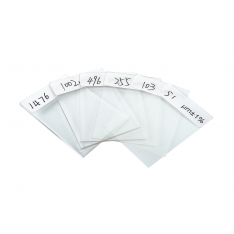
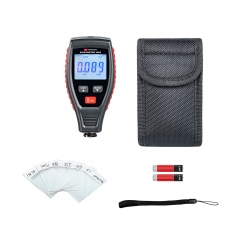
Basic calibration is performed with the help of control plates. Separate calibration is required for magnetic and non-magnetic substrates. Zero point calibration allows you to accurately and quickly calibrate zero. Offset Calibration: Allows you to exclude coating thicknesses that do not need to be taken into account when measuring.
When working in dark places, you can turn on the backlight of the screen. When measuring horizontal surfaces, depending on their location, you can flip the displayed information on the screen. The V-shaped probe makes it easy to measure on small and cylindrical surfaces. The hemispherical probe tip is made of hard, high-strength material.
Measured coverages:
- measurement of the thickness of non-magnetic coatings on magnetic metal bases;
- measurement of the thickness of non-magnetic coatings on non-magnetic metal substrates.
Functions:
- automatic detection of non-magnetic and magnetic metal base;
- single measurement, continuous measurement and differential measurement;
- basic calibration, offset calibration and zero point calibration;
- choice of measurement units (mil or μm /mm);
- LCD backlight;
- automatic shutdown.

